
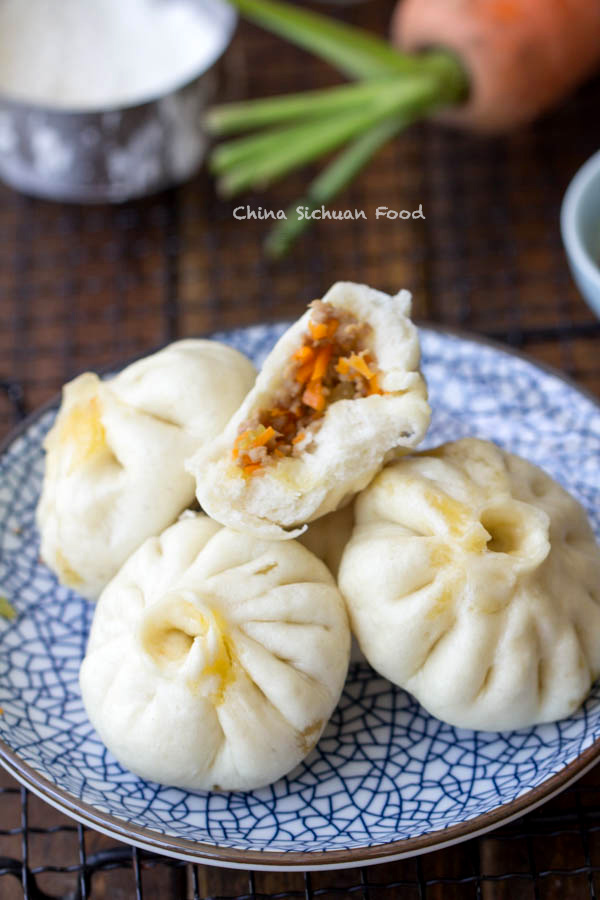
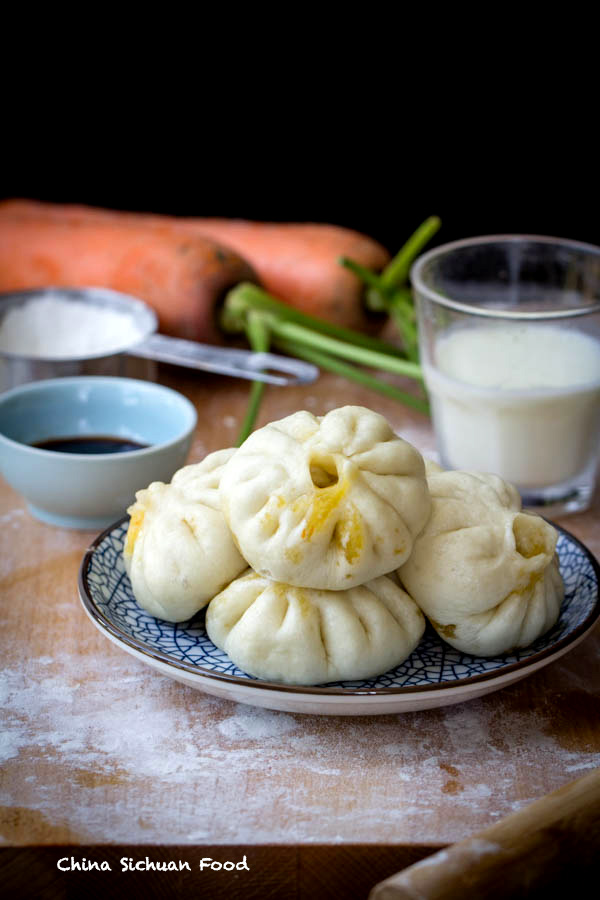
Carrot, celery and ground pork bun, a perfect breakfast for those foodie who love to play with dough. This fried ground pork filling provides a savory yet fresh taste. Taking one bite, you will meet with the soft bun firstly and then savory and juicy filling inside.
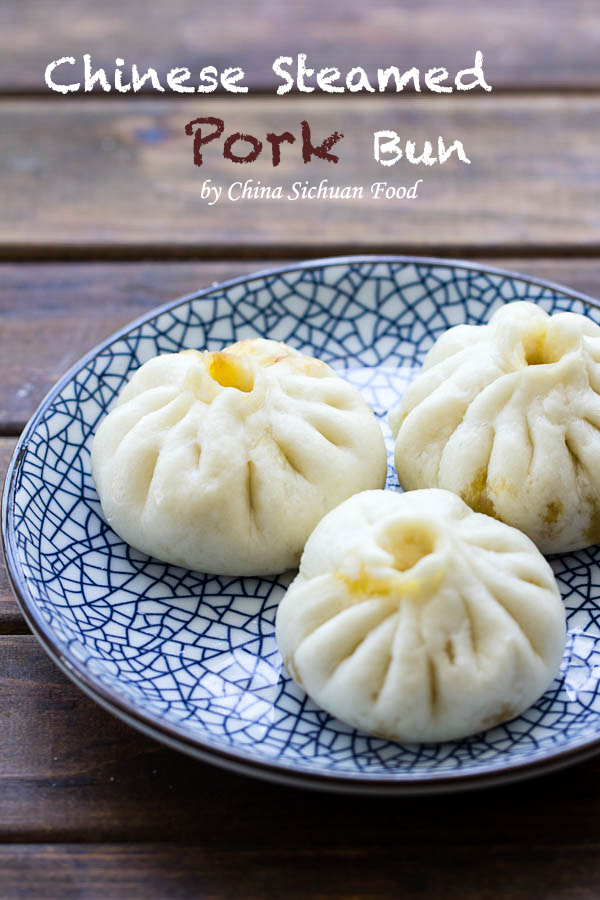
I have posted lots of Chinese steamed buns previously, either without filling version (Mantou) or filled version (Baozi). However I get feedback from Chris that she need a video showing the detail of assembling a baozi at home. So here is the post and the video.
I stir-fried the filling firstly so this is a super easy version to start with because there is no need to stir the filling with water. It will turn out to be moist and savory. And for a better result, please do not make changes to the dough. But you feel free to show your talent on the filling part. I have take some photos when making a vegan version, but I do not get myself understood. I would recommend referring to both of the article and the following video for the whole process. However it is ok if you cannot assemble the buns beautifully, as this is really hard for most Chinese people too.
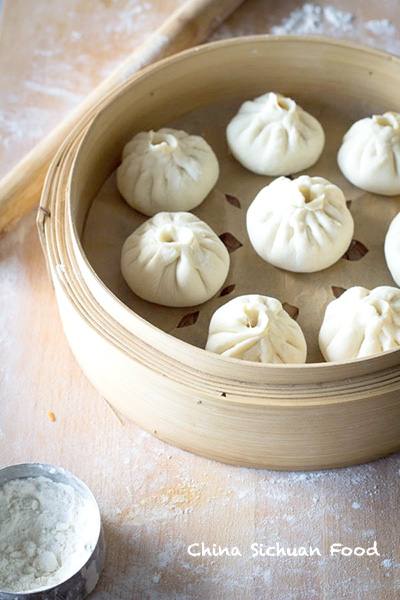
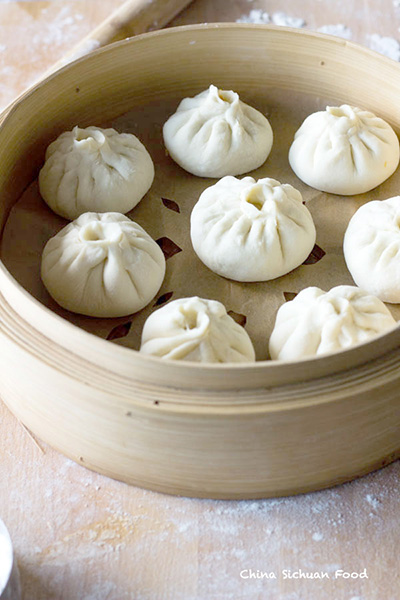
I am using traditionally bamboo steamer for all my daily buns, as shown in the picture. If you love to have one too, you can check Asian Kitchen Store or purchase from Amazon: Joyce Chen 26-0013, 10-Inch Bamboo Steamer Set.

Chinese Pork Bun
Ingredients
For the dough
- 2 cup all-purpose flour , 1/2 cup more for dusting
- 1.5 tsp. instant yeast
- 150 ml water
For the filling
- 2 cup ground pork
- 2 cup finely chopped carrots
- 1 cup finely chopped celery , optional
- 2 garlic cloves , finely chopped
- 2 tbsp. of cooking oil
- pinch of salt
Marinating seasonings
- 1 tsp. sesame oil
- pinch of salt
- 1 tbsp. oyster sauce
- 1 tbsp. light soy sauce
- 1/4 tsp. Chinese five spice powder
- 1/2 tbsp. finely chopped ginger
Instructions
- Add yeast to water (cold water in summer and warm water in winter). Wait for around 10 minutes until the yeast is well activated.
- Stir the yeast water with flour. Grasp everything together and knead until the dough becomes smooth and elastic.
- Brush some oil on a large bowl and transfer the dough for the proofing (cover with plastic wrapper or a wet clean gauze). Wait for 2-3 hours until the dough is doubled in size. Do not over proof in hot days; you will need to watch out the dough.
- In a large bowl, marinate the ground pork with all the seasonings. Set aside for at least 15 minutes. You can prepare this in previous day and keep the pork in refrigerator overnight.
- Heat up 2 tablespoons of cooking oil in wok and fry ground pork until aroma and separated. And then add smashed garlic, carrot and celery. Give a small pinch of salt and continue fry for 1-2 minutes until the celery and carrot are slightly soft. Transfer out and cool down.
- Line your steamer and prepare for the assembling process.
- When the dough is doubled in size, transfer to a slightly floured board and pinch the air out. Please knead forcefully for a smooth surface. Cut the dough into halves. Take one half out and cover the rest half with wet gauze so it will not dry out.
- Continue kneading the half dough for several minutes until there is no air inside any more (no small holes in the transection). Shape the dough into a long log and cut into 8 equal portions.
- Take one portion out, press down slightly and then roll to a around wrappers around 10 cm in diameter. Make the edges thinner than the center. Place on portion of the filling on the round wrapper and then seal completely. Repeat to finish all the buns.
- Repeat the two above steps to finish the other half bun.
- Set up the steamer and let the buns reset for around 10 to 15 minutes with lid covered (This is for summer, for winter solution see note 1)
- Steam on high heat for around 15 minute to 20 minutes. Turn off the fire, wait for 5 minutes before uncovering and enjoying.
Video
Notes
Nutrition
Lastly, I will not recommend making this in hot summer days, as the wrappers will proof in a quick manner and you need to finish all the staff up in limited time. So the sweetest suggestion is for the beginners: start making yummy buns in cool autumn. And make sure you get everything around before assembling.
And here are more bun recipe you may interested.
- Chinese steamed bun (Mantou)–a basic version without filling
- Char Siu Buns
- Chinese sugar buns
- Healthy wheat bun
- Red bean buns
- Vegan buns with tofu as filling
- Custard milk buns–a classic dim sum style bun
- Pan-fried pork buns–another way to cook the buns.
We love steamed pork buns! They look beautiful and delicious, Elaine! Love the clear and detailed video tutorial too! 🙂
Thanks Nami! Soft steamed buns are my daughter’s favorite too. Happy cooking!
I think you meant to refer “+ 1/2 cup more for dusting” to the flour measurement, not to the pork measurement.
Hi Carole,
It is a funny scene to spread pork on operating board. Thanks for the correctness. Recipe updated.
Hi Elaine, I’m gonna try this when I get home from work, how do they store? can you freeze them for later (I love baozi for breakfast!!)
Hi Matthew,
You will to steam them firstly and cool down naturally. Keep in freezer with plastic bags. When you want to serve them next time, steam them directly like hot and soft.
I hope this helps. Good luck!
Great site, my Chengdu wife is very supriced my succsess in Sichuan food ????
Thank you!
Great recipe,
I did a different closure on the bao also used dough made with a starter instead of the commercial yeast.
I made 4 batches, was only able to get a picture of one plate as everyone was taking them as I took them out of the steamer
Thanks for the feedback, David. I can imagine how popular your buns are. Happy cooking!
Instant yeast is one of the ingredients. In the instructions, do I still need to bloom the yeast in water for 10 min?
My paus don‘t look as good as yours but I thank you for the recipe and the video. Very clear and explanatory for beginners like me.